gettingStarted.md
HOWTO: Getting Started with the project
Preparing
- First of all, install Miniconda from this website. Make sure that you install Python 3.7.
- After the installation, you should get a program which is called
Anaconda Prompt (miniconda3). - Start this program and you should end up with a terminal window which looks like this:
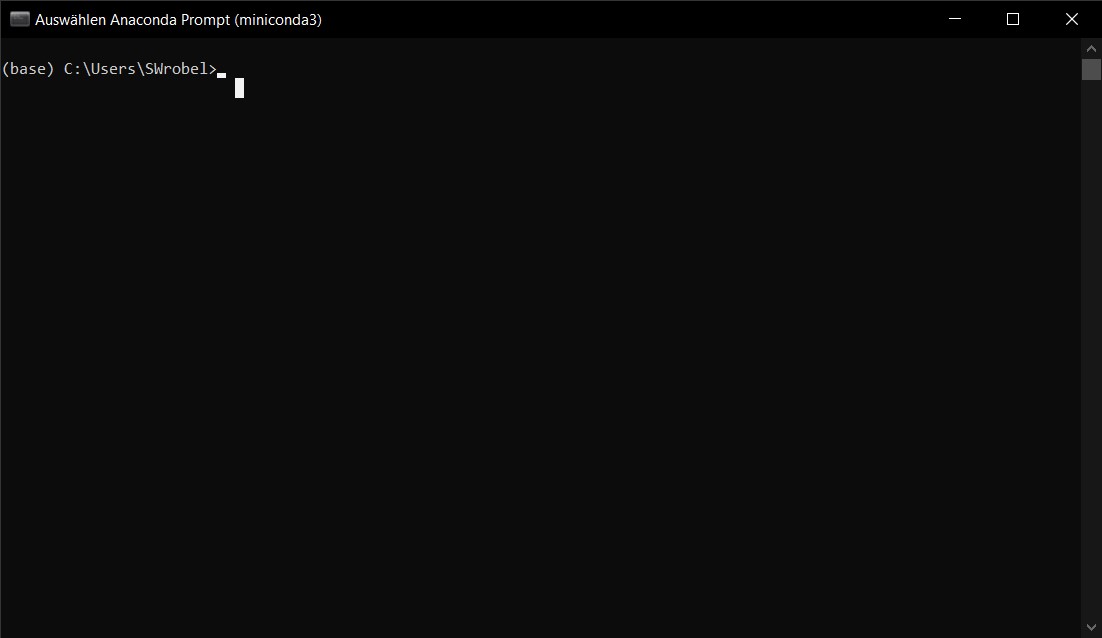
- The current row should start with
(base) C:\Users\YOURPCNAME>. Important is the name inside the brackets, since this is the currently loaded anaconda environment. Environments are Python instances where you can install packages. Anaconda allows you to create multiple of them and switch between them as you like. - Now we will create a new environment for this lecture. Therefore, we type:
conda create --name scivisand confirm with yes. For further information, see here. - Now we can activate this new environment by typing:
conda activate scivis. The current row should now look like the following:(scivis) C:\Users\YOURPCNAME>. - The next step is to install the vtk package, which we will use in the following exercises. Therefore, we type:
conda install vtk. - After the installation of the vtk package is complete, we can check the installation by starting python with the command
python.- inside the python shell we can now type
import vtkpress enter and then we typeprint(vtk.vtkVersion.GetVTKSourceVersion()). - We should end up with something like
vtk version 8.2.0. - If this print appears you have installed vtk successfully. Congratulations!
- You can now close the python shell by typing
CTRL + Z.
- inside the python shell we can now type
- After the installation is done, you should now install Paraview from this website. Make sure that you download the executable (.exe, .dmg, ...) and not the source code.
- Now you can clone the git repository and start with Exercise 1.
Alternatively: Using the SCI workstations remotely
If you do not have access to sufficiently powerful hardware, you can also access the workstations from the SCI and work remotely on them:
- first of all, you need an SCI account, contact this mail for further information
- then follow their remote tutorial here. This tutorial is in german, but you should be able to navigate it through the images and translation software
- when you are connected to the SCI workstations, you can open the terminal and enter
pip3 install --user vtk - please note that Paraview is not available on these stations. Paraview is (probably) not strictly needed for the exercises but will be helpful in checking if your results are correct.
- the expected way of doing the exercises is via conda, therefore we can only give limited support for this alternative
Cloning a git repository
Install Git. Access to the template as well as the submission of the exercises is provided via a git repository, which has been set up for your team at gitlab.rhrk.uni-kl.de. You should be able to login with your rhrk credentials.
Before you start working on the exercise, you have to 'clone' a local copy of your team project. The URL for your repository is
https://gitlab.rhrk.uni-kl.de/scivislab/scivis/team20-XX.git, where XX is your team number. Alternatively, you can get the URL from the GitLab web interface of your project.
You can clone your project using the terminal, an IDE or a git GUI tool.
Remarks
Local configuration for Git
If you use git the first time, it may happen that you receive the following error:
*** Please tell me who you are.

Run

 git config --global user.email "you@example.com"
 git config --global user.name "Your Name"

to set your account's default identity.
Omit --global to set the identity only in this repository.

fatal: empty ident name (for <(null)>) not allowed
Follow the instructions from the error message to configure git for your local user account.
Further Resources
Git:
- Git Tutorials
- Git in 15 minutes (interactive Tutorial)
- Git, the Simple Guide
- Pro Git
Git GUIs:
- Command Line
- SourceTree (Mac/Windows)
- git-cola (Linux)